Saturday, September 30, 2017

Gardening Scenes #4: Quick Updates

Yesterday I posted about the two tomato seedlings on my pot that I saw just after three days of planting on it. Today, I checked out the pot early cause it was raining for hours early morning. Just to see if those seedlings were "okay".
PhotoGrid_1506751291511.jpg
So today there are about ten tomato seedlings already. All those were fresh seeds that I planted. Nothing germinated yet on the side of the dried seeds.
PhotoGrid_1506751351286.jpg
So nice to see those seedlings growing and hoping that most of these will continuously grow until it can produce tomato fruits. Good for the incoming holidays, we might not be needing to buy tomatoes for several occasions. 😊
I also took photos of my lemon seedlings and squash plant to include in this update. Photos were all taken using my mobile phone.


PhotoGrid_1506671766099.jpg
PhotoGrid_1506753083316.jpg

Gardening Scenes #3: Tomato Seeds Starting to Grow

I planted some fresh and dried tomato seeds. I checked it out and quite surprised to see two seedlings just after three days. I did not expected that it will start growing that fast. I just checked the pot to see if the soil is still moist and intact. So nice to see those tiny tomato plants. 😊
PhotoGrid_1506671709705.jpg
PhotoGrid_1506671845110.jpg
It means that the fresh tomato seeds grow faster or have more potential of growing compared to the dried seeds. The side of the pot with mark is where I planted the dried tomato seeds.
Seeing these seedlings this early got me curious on how fast tomato seeds germinate. When I searched about it, it was mentioned that tomato seeds usually germinate after 5-10 days. So it means that it was really early for my tomato seeds to start growing after just 3 days, that was so nice for me of course. 😊
It will be great to see this seedlings continuously growing and hope that there could be more seedlings later. I also just searched if how long before those tomato plants will start producing fruits. It was mentioned that it could be around 40-50 days and depends on the variety of the tomato.

Photoman Service in Travelooza 2017 at Makati, Philippines

September 28 was a busy day as we had a booth in a Travelooza event ealier as one of the exibitors. It was held at Makati Sports Club, Philippines. The program started at 9 AM and ended pass 5PM.
There were more than 10 exhibitors or booths in the said event. There were speakers and performers as well. Overall the event was fine and we had given most, if not all of the attendees their photo souvenir from us. They have told us that the print was really nice as well as the design. It is nice to have comments like that and see them being satisfied with the output.
While in the event, I was able to still log in on my Steemit account and do stuffs like commenting, upvoting and replying. Before whenever I am in an event or not at home, I prefer not being online to have a break from being online most of the times at home. But when I become a Steemian, I cannot help but to check my account even just for few minutes. 😊
Below are some photos I took in the event. All photos in this post were taken using my mobile phone.
PhotoGrid_1506593678888.jpg
PhotoGrid_1506593755073.jpg

My Steemit Shirt and How it All Started

Went out to look for a shirt that I will wear in our event this coming Thursday. We will have a booth for the incoming Travelooza event in Makati, Philippines. It will be a Photoman service which will be one of the freebies for those who will attend the said event.
I chose a simple plain polo shirt and while passing by different stores, I saw a printing shop. Had an idea of putting some print or design to the shirt as I saw cute anime logos in that store. While browsing their design logo brochure, I just had a thought of why not incorporate the Steemit logo in the design. So, I decided to have that logo in the shirt and below is the output.
PhotoGrid_1506433655367.jpg
I am quite sure that there are some here who could relate on this logo. Eat, Sleep, Steemit. I found it simple yet funny and true. Steemit had been a part of my life ever since I started blogging on this platform.
Although the first month seemed to be an almost "give up" phase for me, I am glad I just continue and keep blogging until now. Working online for years taught me lots of things and one of the best lesson learned is never give up... early.
never gave up.jpg
Indeed that great things take time and even the progress is slow, it is still a progress. I have been on Steemit for 3 months and that was not considered that long time already. But I have been starting to feel that I am an old Steemian already which I think is a good feeling. It is because it means I feel at home in this platform and looking forward for more time on here.
It may not be always a happy day but that is part of being in a real community. There could be challenges and changes but that makes things all worth keeping and working on at the end of the day. Keep steeming! 😊

Gardening Scenes #2: Planting Tomato Seeds in A Pot 😊

Living in the city, number one hindrance of having your own "food" garden is the limited space. Aside from being lazy to do gardening or being too busy of life in general as there are lots of things we can get busy with in the city. 😊
It is still possible to at least have one or two veggies growing in your own household. Most of the city dwellers were pot planting to save space and also because most spaces were already cemented.
I bought pots and soil to fulfill some in my homesteading bucket list last week. The pots were medium sized and made of plastic. I only bought 2 pots and just used one.
PhotoGrid_1506390161075.jpg
I put some more holes at the bottom of the pot since it only has one hole, to make sure that the water will not be just stagnant in the pot. I did it with a use of a knife which was easy cause it was a plastic pot.
PhotoGrid_1506389949438.jpg
The soil I bought already have natural fertilizer and looking at it, I think the fertilizer mixed with the soil was husks of rice. Which is really good since it is all natural and for sure being used by farmers in fertilizing their crops.
PhotoGrid_1506390124719.jpg
PhotoGrid_1506389725912.jpg
We have some seeds just stocked somewhere in the house. We have not planted it yet because we have been busy renovating or fixing the house and life in general. There were also some debris and/or construction materials around our place that we have not yet properly disposed such as the old broken stand where our aloe vera were currently placed featured in my previous post Here.
The seeds below were almost more than a year old already, glad we have not lost these yet. 😊
PhotoGrid_1506390202884.jpg
Talong is Eggplant in English while Kamatis is Tomato. I decided to plant some of those tomato seeds yesterday.
PhotoGrid_1506390245874.jpg
I planned to just plant those dried seeds but I saw a frozen tomato in the refrigerator. So, I decided to get the fresh seeds from it and also planted those in the same pot. It is to see if which type of seeds will grow first or will grow or not grow. It is my first time to plant using dried commercialized seeds as I usually planted some veggies from the fresh ones we bought before.
PhotoGrid_1506390019398.jpg
I place a masking tape marker on the side where dried seeds were planted for my reference. So just like in the photo, the dried seeds were planted at the bottom and the fresh seeds on the upper part of the pot.
PhotoGrid_1506389288045.jpg
PhotoGrid_1506390307707.jpg
Then I place the pot outside where our aloe vera were placed too, so that it could have enough sunlight to make it start growing. Hoping it will grow and be able to provide us the tomatoes we need in the household. 😊
PhotoGrid_1506389682712.jpg
All photos were taken using my mobile phone.

Stuffs/Items From Japan: On Sale

I passed by a Japanese secondhand store and I cannot help but stop and look on the items on sale in there. 😊
Lots of colorful and interesting stuffs were on the display. You can see that those items were really made or from Japan such as the Japanese structure icons, dolls, pins and the bags. Almost all items were in there from cookware, shoes, paintings/frames, plates, cabinets, hats and jewelries. They also sell Japanese bikes and other sports items like tennis racket and golf balls.
PhotoGrid_1506319002648.jpg
PhotoGrid_1506319044963.jpg
There were action figures too and items you can buy in a Japanese souvenir shops. I have also seen some stuffed toys that were on sale. The prices were definitely much cheaper since these are pre loved/used items.
PhotoGrid_1506319091532.jpg
While looking around the store, what interests me a lot was the Japanese folding hand fans. I open those and look the designs printed on it. Then I found one that I really like and bought it. It was so affordable as I just bought it for 30 pesos or less than a dollar.
PhotoGrid_1506318904433.jpg
I really like the painting or drawing on it and I also needed a folding fan that is why I bought it. There is a Japanese writing/letters on the fan that I do not know the meaning. It will be great if someone could translate it to me. 😊
PhotoGrid_1506318815777.jpg
All photos were taken using my mobile phone.

Photoman Service At Vikings, Mall of Asia

We serviced a client in Vikings Mall of Asia, September 23, 2017. It was for a birthday and Christening celebration in one for a one year old girl. We are thankful that it went all fine as we delivered the service in time and as expected by the client.
It is actually our very first Photoman service client as we used to just offer Photobooth and Photography services. So, we are really glad that it went all fine and we seen the guests happy with the result.
What is a Photoman service? It is a service in which there is a roving photographer and all his shots will be directly in sync with the computer and then to the printer for immediate print out. It was like a walking Photobooth as it was commonly defined in that manner.
It is a better option for those events with limited spaces or to those who prefer to just have their photos taken where ever they would like it to be taken in the event's place and not just in a booth. Our set up for today in the photo below. Used my mobile phone Oppo A37f for the photos on this post.
PhotoGrid_1506160840394.jpg
We had a table for the laptop and there was a monitor too placed back to back with it for the slide show of the photos that were already taken. Then we have a printer and, we brought plenty of photo paper and standees to make sure that we will not have a shortage. It was necessary to bring lots of those since the number of print outs will vary. The service lasted for four hours.
We arrived early to set up and so, we got the chance to also see the designing team while preparing the event's place. Below is a photo I took while the place was being designed.
PhotoGrid_1506160730485.jpg
... and a photo showing some of our print outs/output in the event.


PhotoGrid_1506160677483.jpg

Vegetables That Are Easy to Grow... In My Opinion


Yes, like what the title says, it is my own opinion. Also these are the vegetables that are easy to grow in the Philippines were I experienced planting those veggies. 😊
Philippines only have the summer/dry and the rainy/wet seasons.
I would not say that I have a green thumb cause I am not, as I have experienced various gardening failures. Through those trial and errors, and previous experiences, I could mention some vegetables that are not that hard to grow, even you do not consider yourself to have that green thumb. Having a green thumb means that you have a natural ability or talent to grow plants.
Below are some vegetable plants that are really easy to grow.
  • Vine/Malabar Spinach or Alugbati
alugbati.jpg

Photo source
First on my list cause I remembered planting this during my childhood. Whenever we bought alugbati and already removed the leaves, I will immediately plant the stems in our vacant lot. Without much care or attention, it will start to grow leaves and later you can start harvesting some of the leaves without the need to cut the stems.
  • Onion
onion.jpg
An aged onion will start growing leaves and roots even it was not yet planted on the soil. Those who have left their onions unused for a long time for sure have experienced this. When it is starting to grow, you just need to plant it where it can grow and multiply.
  • Bitter gourd
bitter gourd.jpg

Photo source
I remember that the seeds were washed first to get rid of the mucilage before it was planted. It should be planted where it can get enough sunlight and water it enough frequently to keep the soil moist. Even it is not yet bearing flowers/fruits, you can already use the leaves in cooking various dishes such as in sauteed mongo seeds.
  • Squash
squash.jpg
Right now, we have a squash plant and it is continuously growing. We just tossed some seeds on the vacant lot and some seeds were buried a bit deep. It started growing without much care. When it started to produce some flowers, we can utilize it already. Squash flowers are edible and can be an ingredient for various dishes.
These vegetables will be on my list for now and will be trying to grow some other veggies for the days to come. 😊

Saint Anne Parish Church in Hagonoy, Philippines

The Church of Saint Anne Parish is also known or called as Archdiocesan Shrine of Saint Anne or simply Santa Ana Church. It is a church of the Roman Catholics and situated at Barangay Santa Ana in Taguig city. Its location is near the river and just across the Plaza Quezon where a statue of previous president Manuel Quezon was located. The patron of the church is Saint Anne.
The Santa Ana church is part of my life cause I was baptized on this church. That is why every time I visit or just passed by this church, I am reminded of that.
Below are some recent photos of the Saint Anne Parish Church that I took using my mobile phone. Most are the side part as I forgot to took a shot of the front part.
PhotoGrid_1505994223315.jpg
PhotoGrid_1505994262677.jpg
PhotoGrid_1505994296981.jpg
Below are photos of a sculpture on the side which I think is representing Mama Mary and Saint Anne.
PhotoGrid_1505994180375.jpg
PhotoGrid_1505993950589.jpg
... and a photo of the interior part of the church.
PhotoGrid_1505993920891.jpg

Gardening Scenes #1: Transferring an Overgrown Aloe Vera Plant to Another Pot

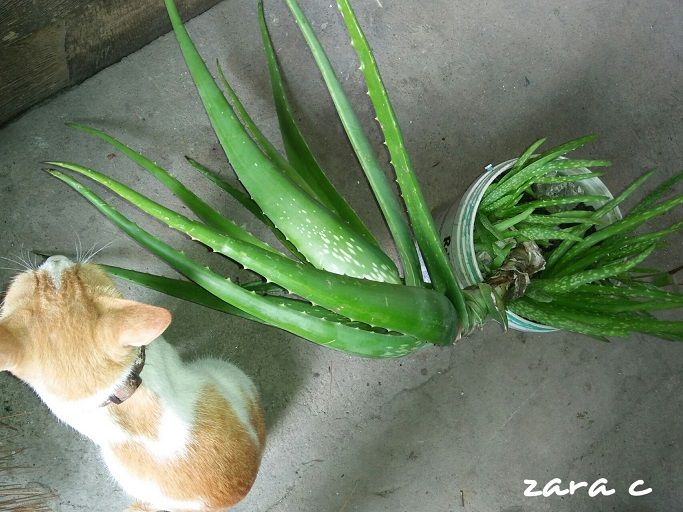
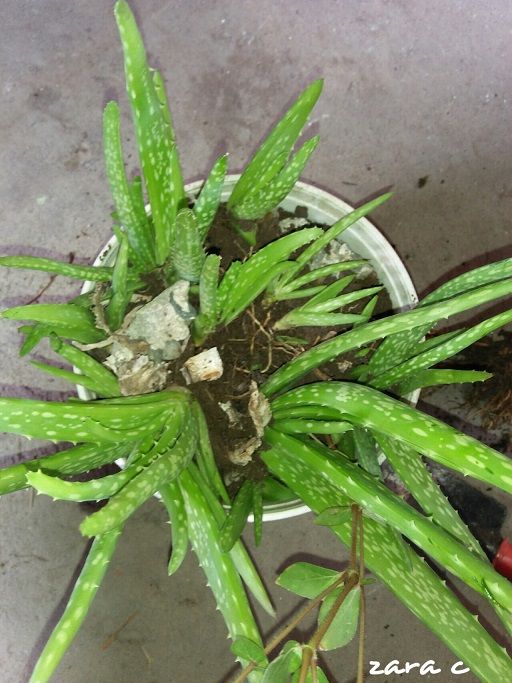
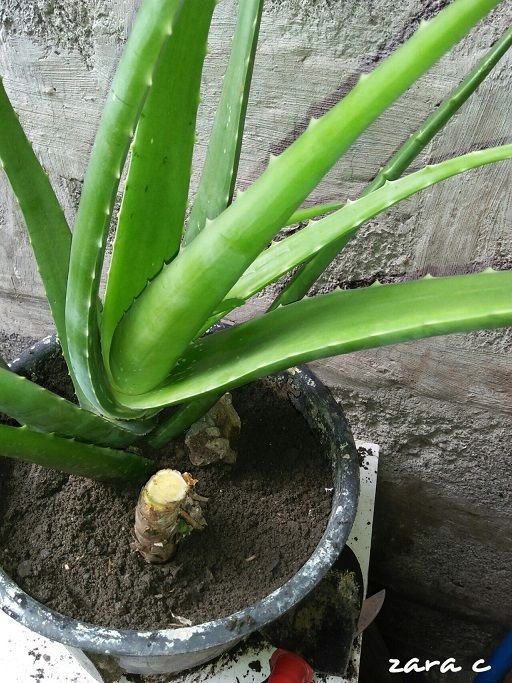
I recently saw our aloe vera plant was almost out of its pot because it was overgrown and/or got heavier. It was planted in an old paint container and initially just one plant. Now, there are several new aloe vera plants around it and I am glad that it multiplied that much already after few months of almost just literally leaving it alone in front of the house. 😊
PhotoGrid_1505812600254.jpg
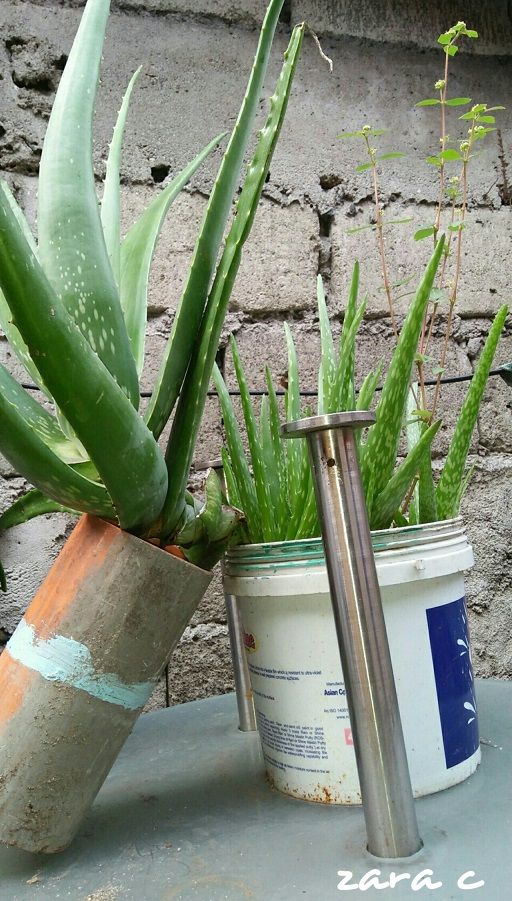
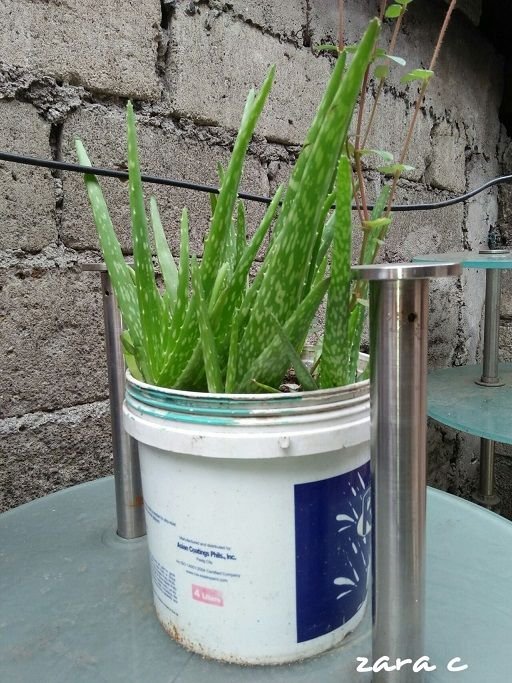
I just placed a tube under the overgrown aloe vera as a temporary remedy while I am looking for another pot for it. So that it will not just breaks anytime soon.
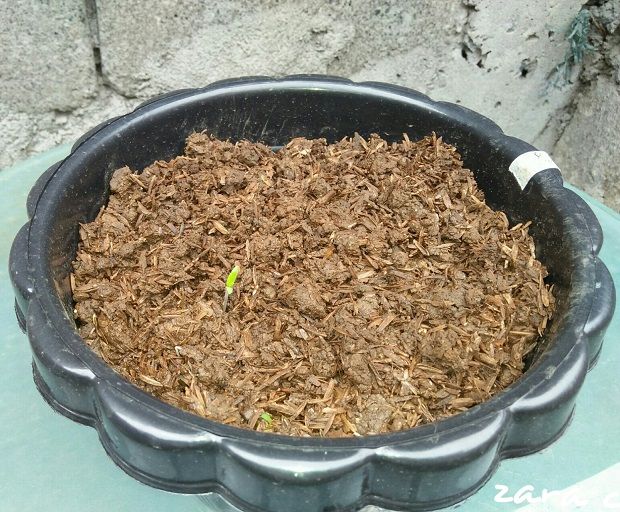
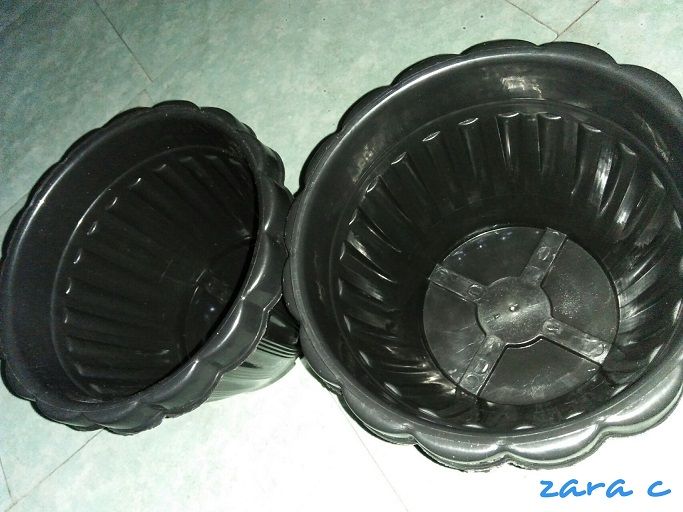
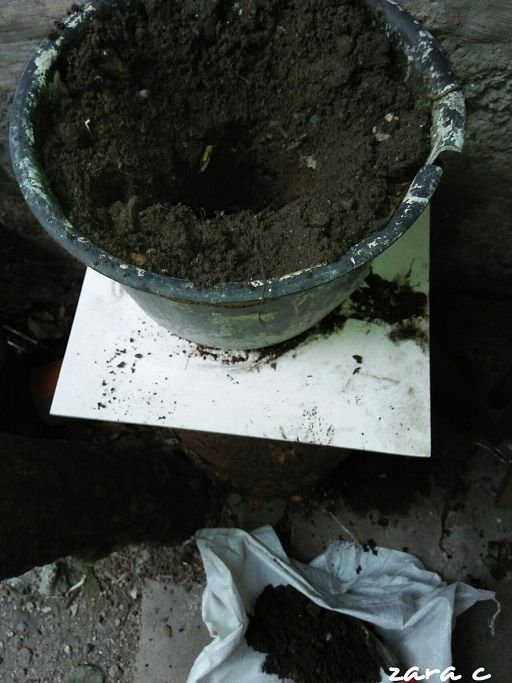
Found a pot where we used to plant some chili peppers that did not survived. I removed whatever was left in there and water the soil so that it will be easier to dig it and transfer the aloe vera.
PhotoGrid_1505812519600.jpg
It was a broken old pale that we just put a wire around it so that it will not totally breaks. Then, I placed the pot with aloe vera on the floor since it was placed in a higher place. That way it will be easier for me to pull the overgrown plant. It was quite heavy already so it was my instant workout for that day. 😊
PhotoGrid_1505812475025.jpg
I just decided to pull it to lessen the possible damage on those little plants around it. Also it will be hard to dig it to its end roots. It required much force to really pulled it and it was the most challenging part of the transferring process. I do not have gloves yet so, I am really careful not to touch those thorns.
PhotoGrid_1505812396554.jpg
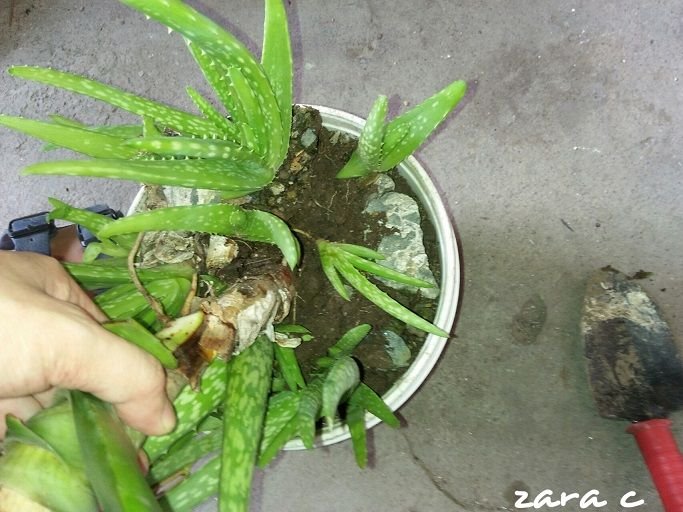
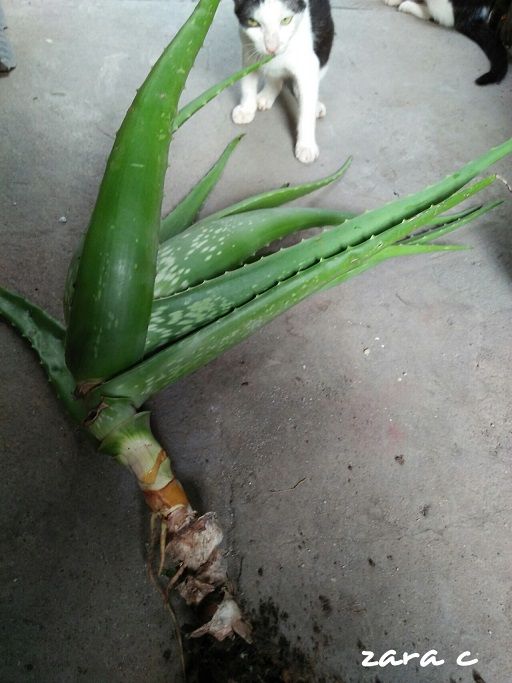
After minutes of attempts and perseverance, I was able to pulled it totally from the pot. Then I placed it carefully to the ground and made sure the leaves were not going to break or have a very least damage.
PhotoGrid_1505812282637.jpg
PhotoGrid_1505812217142.jpg
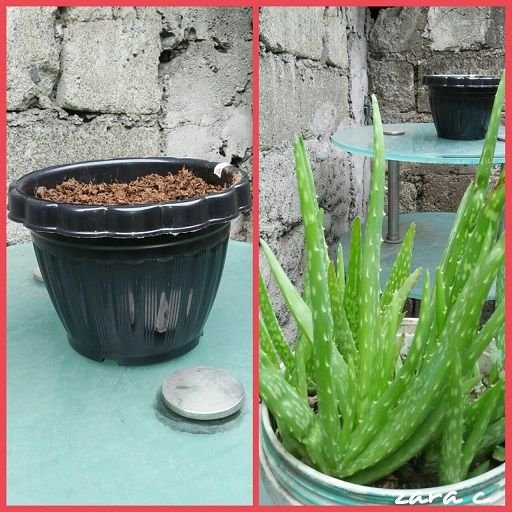
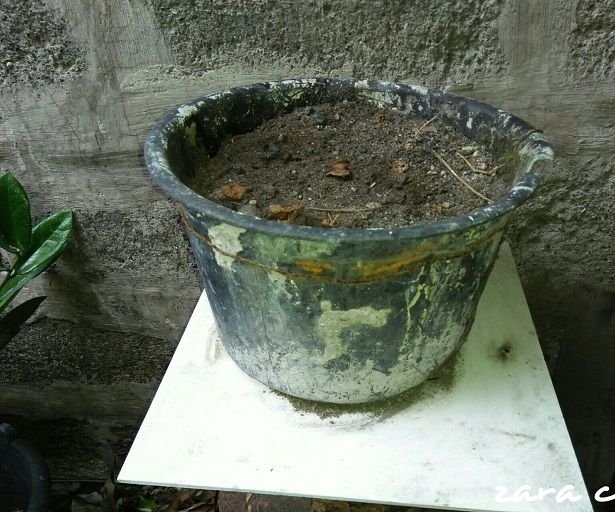
The paint container pot looks like this after I removed the overgrown plant. The smaller plants become bit disoriented/misplaced and so I fixed it after.
PhotoGrid_1505812323783.jpg
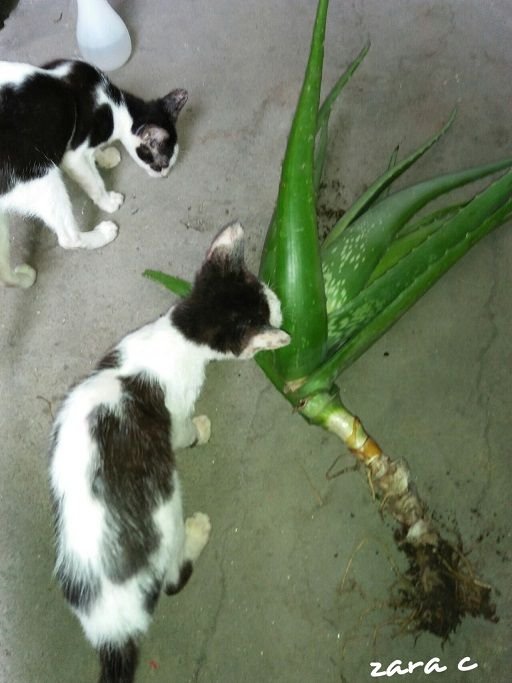
After fixing it, I placed it to its original spot in front of the house so that it will continue to grow and multiply. It was placed on a higher place so that the cats will not easily be curious on it. 😊
aloe.jpg
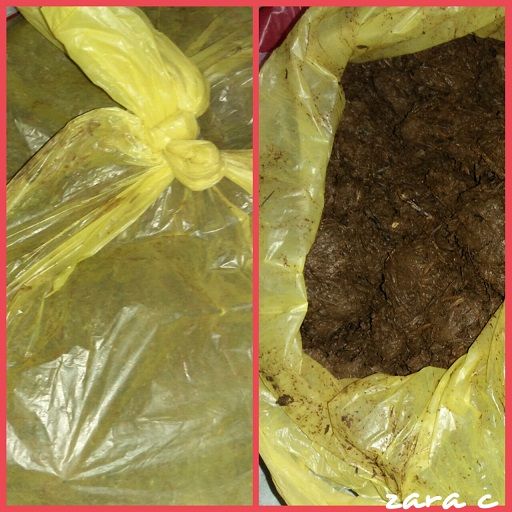
Then I started to dig the soil in a pot where I will be transferring the aloe vera plant. Placed some soil temporarily on the ground with a sack so that to lessen the mess and it will be easier for me to place it back on the pot.
PhotoGrid_1505812251148.jpg
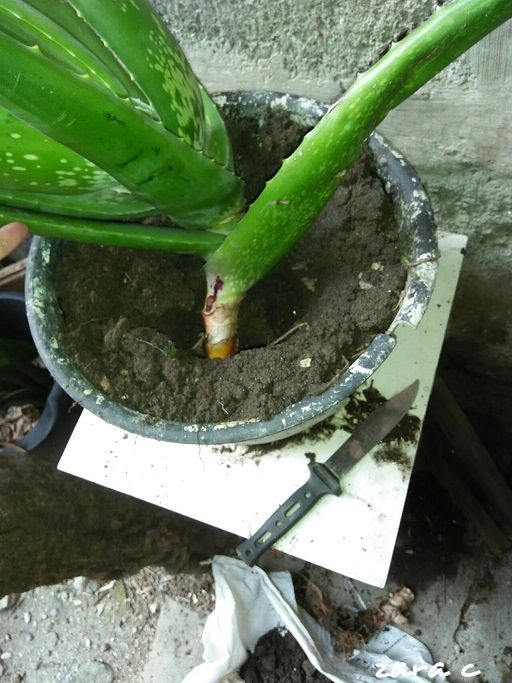
First and several attempts of placing the overgrown plant was not successful cause its roots was longer than the old pale pot.
PhotoGrid_1505812189879.jpg
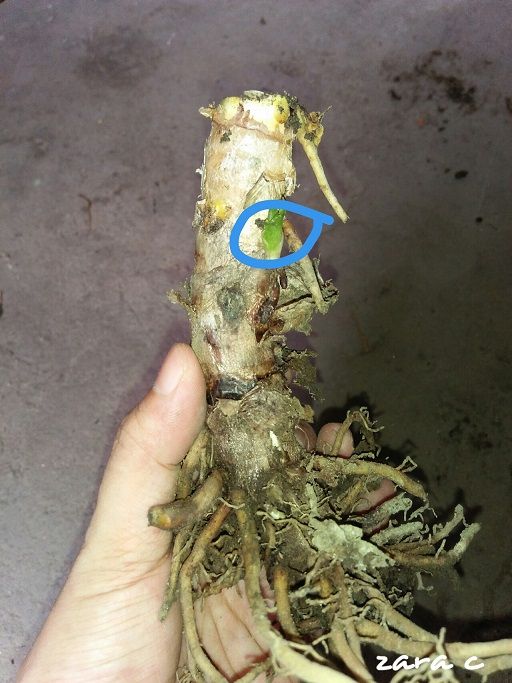
So I decided to just cut the roots to make it fit the pot. Anyways, I originally planted it without roots yet as I brought it that way cause it was cheaper than buying aloe vera on pots. That is why I am glad it grown that much and multiply. Hoping this time it will be a success again that it will grow roots and grow more.
PhotoGrid_1505812160769.jpg
So it fitted on the pot already and I put back the soil and fixed it. Felt happy it was already placed properly and have the opportunity to grow more.
PhotoGrid_1505812085322.jpg
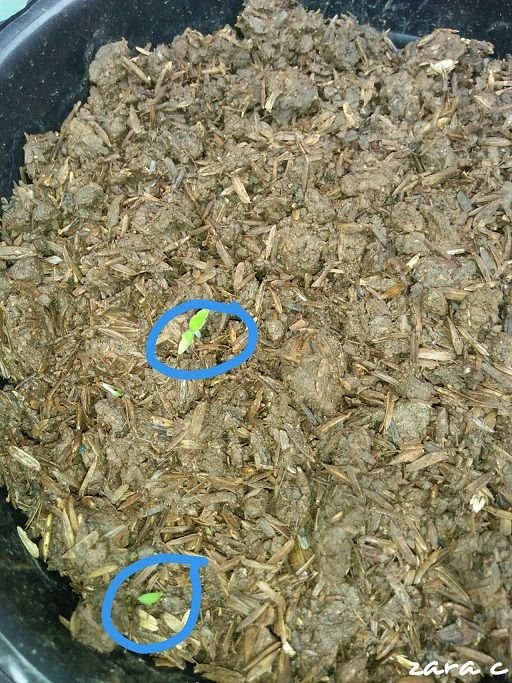
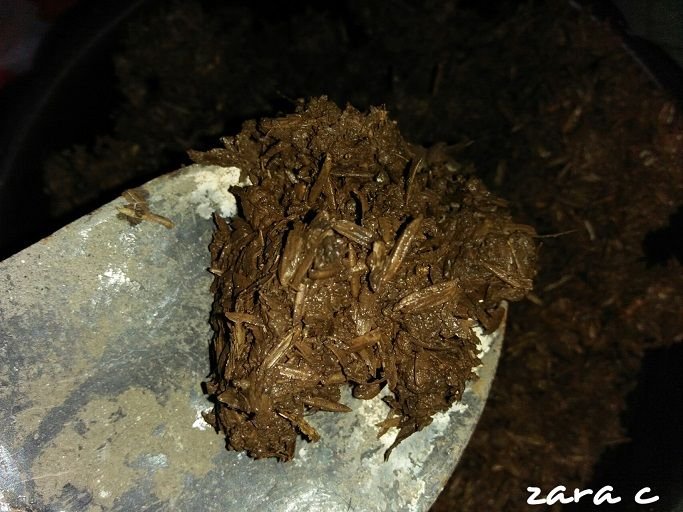
The root that I cut from it has a seedling/starting to grow leaves so I decided to also plant it in the pot so that it could also grow.
PhotoGrid_1505874315020.jpg
PhotoGrid_1505811996544.jpg
So, why did I decided to plant aloe vera in the first place? It is because it has lots of uses. When my fingers were starting itching like crazy, I searched on what it could be and found out about warts. As I am into natural remedy thing rather than commercialized medications, I searched for herbal plants that could cure skin problems and I found out about the wonders of aloe vera. At first, I bought aloe vera on pots and use its juice to cure the itchiness on my fingers and it solved it. After that, I attempted several times to grow my own aloe vera and failed several times. Failed because I thought it was like the other plants that you need to water on a daily basis but it was not.
Aloe vera can survive with a very little water and the proper way to water it is directly to its soil. Learned that when I asked the guy who sold me that aloe vera that overgrown. Good thing that I asked. 😊
That overgrown aloe vera above can cost around 150 to 200 pesos here when you buy it on pot. So it could be a good business someday.
Aloe vera juice is also a great hand sanitizer that is why you can commonly see it as an ingredient on those sanitizer products. I am also planning to make my own aloe vera soap someday so that I will not need to buy in the market and that I can be sure that it will be organic or skin safe soap. It can also be used in treating wounds and other skin infections so, no need to buy creams or lotions. It has been proven that it has medicinal properties. 😊

About Me